Achieving a Perfect Manicure at Home: Step-By-Step Guide
There’s nothing quite like having a fresh and perfectly manicured set of nails. It not only boosts your confidence but also adds a touch of elegance to your overall appearance. While going to a salon and getting a professional manicure is always an option, it can be quite time-consuming and expensive. Fortunately, achieving a perfect manicure at home is entirely possible with a little guidance and the right tools. In this blog post, we will provide you with a step-by-step guide to achieve a flawless DIY manicure in the comfort of your own home.
Step 1: Start with Clean and Healthy Nails
The first step towards achieving a perfect manicure is ensuring that your nails are clean and healthy. Start by removing any existing nail polish using a gentle nail polish remover. Trim your nails to the desired length and shape them using a nail file. Remember to file in one direction to avoid damaging your nails. Once your nails are ready, soak them in warm soapy water for a few minutes to soften the cuticles.
Step 2: Prep the Cuticles
After soaking your nails, it’s time to prep the cuticles. Gently push back the cuticles using a cuticle pusher or an orange stick. Be careful not to apply too much pressure as this can cause pain and damage to the nails. Once the cuticles are pushed back, you can carefully trim any excess skin using a cuticle nipper, being cautious not to cut live tissue.
Step 3: Buff and Smooth the Nail Surface
To achieve a smooth and flawless nail surface, it’s important to gently buff the nails. Use a nail buffer to remove any ridges or imperfections on the nail surface. This will create a smooth canvas for your nail polish application.
Step 4: Moisturize and Hydrate
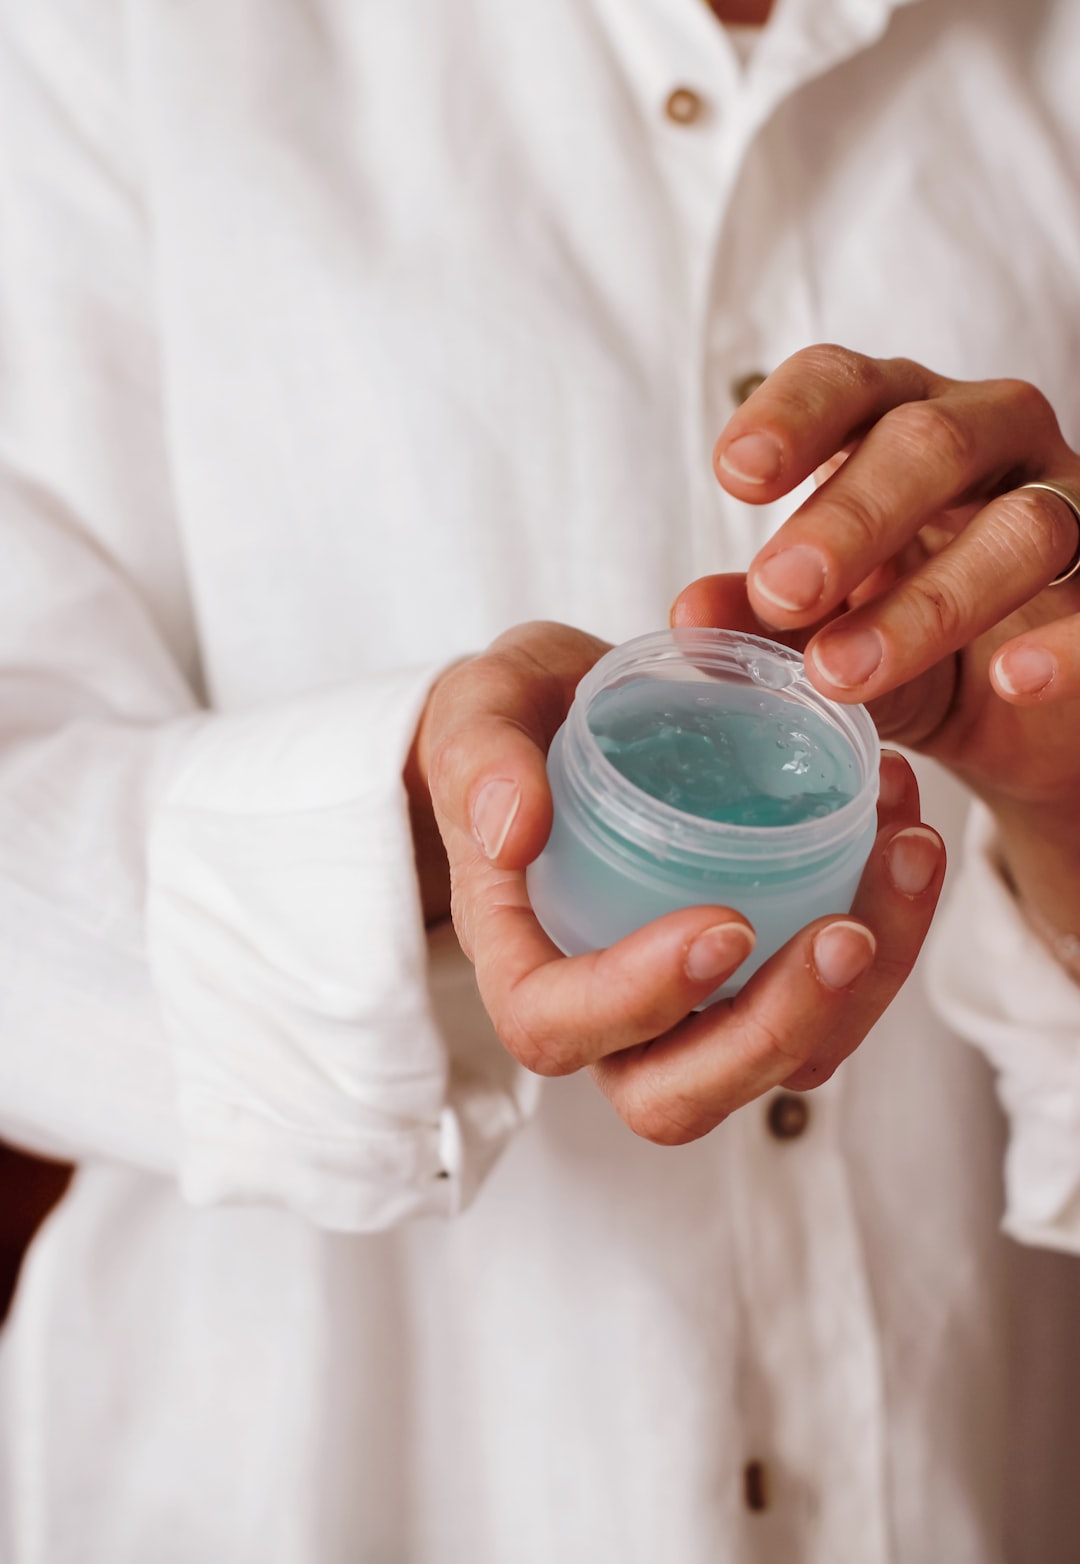
Now that your nails are prepped and ready, it’s time to moisturize and hydrate. Apply a generous amount of cuticle oil or a nourishing hand cream to your nails and cuticles. Massage it in thoroughly to promote healthy nail growth and hydration.
Step 5: Apply a Base Coat
Before you begin applying your chosen nail polish color, it’s crucial to apply a base coat. The base coat provides a barrier between your natural nails and the nail polish, preventing any staining or discoloration. It also helps the nail polish adhere better and increase its longevity.
Step 6: Color it Up
Once the base coat is dry, it’s time to apply your desired nail polish color. Start by applying a thin layer of polish in the center of the nail, followed by a strip on each side. Avoid applying the polish too close to the cuticle and the skin around the nails. Repeat this process for a second coat, ensuring an even and opaque application of color. Wait for the polish to dry before moving on to the next step.
Step 7: Seal the Deal with a Top Coat
Applying a top coat is essential to seal in the color and provide a glossy finish. It also helps to prevent chipping and extend the life of your manicure. Apply a thin layer of top coat, starting from the base of your nail and gently pulling it towards the tip. This will help seal the nail polish without smudging the color.
Step 8: Clean Up
After your nail polish has completely dried, it’s time for the finishing touches. Use a clean-up brush or a small angled brush dipped in nail polish remover to clean up any excess polish around your cuticles or on the skin. This will leave your nails looking neat and professional.
Step 9: Maintain Your Manicure
To make your beautiful manicure last longer, it’s important to take proper care of your nails. Avoid activities that can chip or break your nails, such as typing vigorously or opening cans without a tool. Apply a layer of top coat every few days to maintain the shine and protect the polish. Remember to moisturize your cuticles regularly to promote healthy nail growth.
With this step-by-step guide, achieving a perfect manicure at home is now within your reach. Take the time to pamper yourself and enjoy the process of creating beautiful nails. Not only will it save you time and money, but it will also leave you with salon-quality results that you can be proud of. So go ahead, gather your tools, and create the perfect DIY manicure from the comfort of your own home.
